

Consistent Characters in Kling Image: A Reference Workflow
To create consistent characters with Kling Image, reuse a clear visual reference and the same description of defining features across scenes. Change the action, setting, and framing deliberately, then compare every result with the approved reference.
The practical goal is a recognizable character across a small image series. Start in Kling Image with a character you have permission to use. This guide uses a fictional explorer and a three-scene greenhouse story to explain the workflow.
Separate identity from the scene
“An explorer in a greenhouse” leaves the face, outfit, and drawing style open. A reusable identity description gives your series a more specific foundation.
For this example, keep the following features fixed:
An adult explorer with a short dark bob, round amber glasses, a mustard jacket, a teal scarf, and a small brown satchel. Soft gouache illustration with visible paper texture and a restrained sage-and-ochre palette.
Then write the scene separately: entering the greenhouse, examining a fern, or walking along the aisle. You can change the scene without rewriting the identity.
| Keep consistent | Vary for the story |
|---|---|
| Face shape and recognizable features | Expression and gaze |
| Haircut and glasses | Head angle |
| Clothing design and colors | Pose and action |
| Satchel design and strap arrangement | Framing and distance |
| Illustration texture and palette | Setting details and composition |
These are production choices, not settings that automatically lock every feature. Every scene still needs visual review.
Choose a clear anchor reference
Start with an image that shows the face and outfit without heavy occlusion. A neutral or simple background makes the defining features easier to inspect. Approve that image before asking for a full series.
The Kling IMAGE 3.0 user guide describes reference-based feature retention and style control, including character-design use cases. Use references to communicate those features, and follow the upload limits of the model selected in your interface.
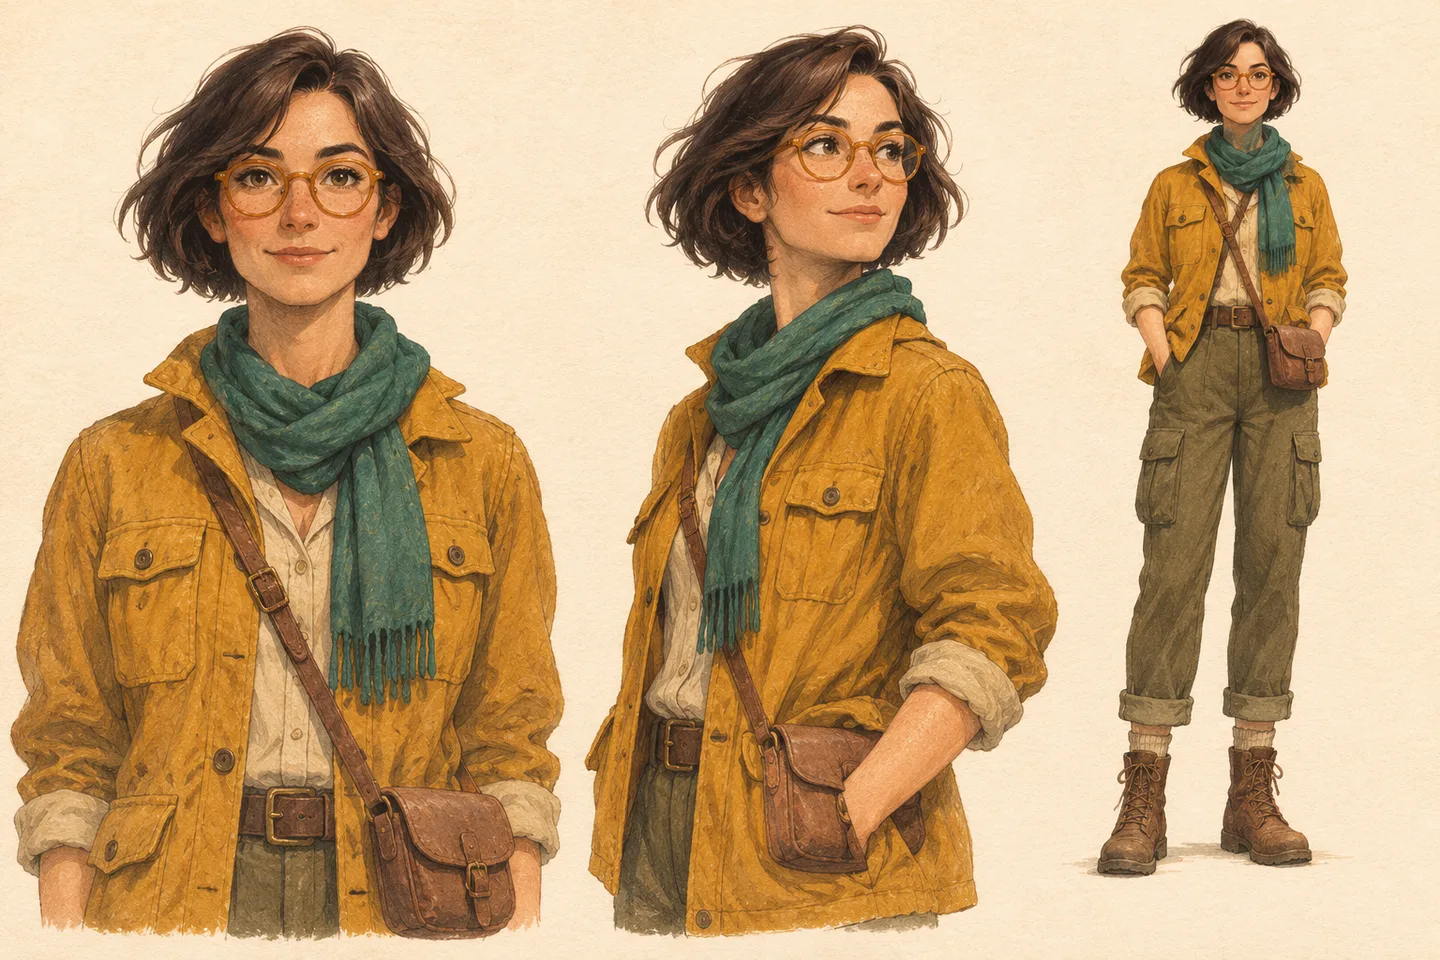 AI-generated character-design illustration; not a Kling Image consistency test.
If you add another view, use it to resolve a genuine ambiguity, such as the full outfit or the satchel shape. More images are not automatically more useful. Conflicting hairstyles, costumes, or art styles make your intended design harder to communicate.
Plan three scenes before generating
Give each image a different storytelling job. Repeating almost the same portrait three times offers little narrative value, while changing every visual variable at once makes continuity harder to assess.
| Scene | Storytelling job | Framing instruction |
|---|---|---|
| Arrival | Establish the place and character | Medium view at the greenhouse doorway |
| Discovery | Show what interests the explorer | Waist-up view beside a fern |
| Departure | Complete the small sequence | Full-body view walking along the aisle |
Keep the same broad lighting direction and palette for the first series. Once it works, you can experiment with a larger change, such as a night scene, while retaining the same reference.
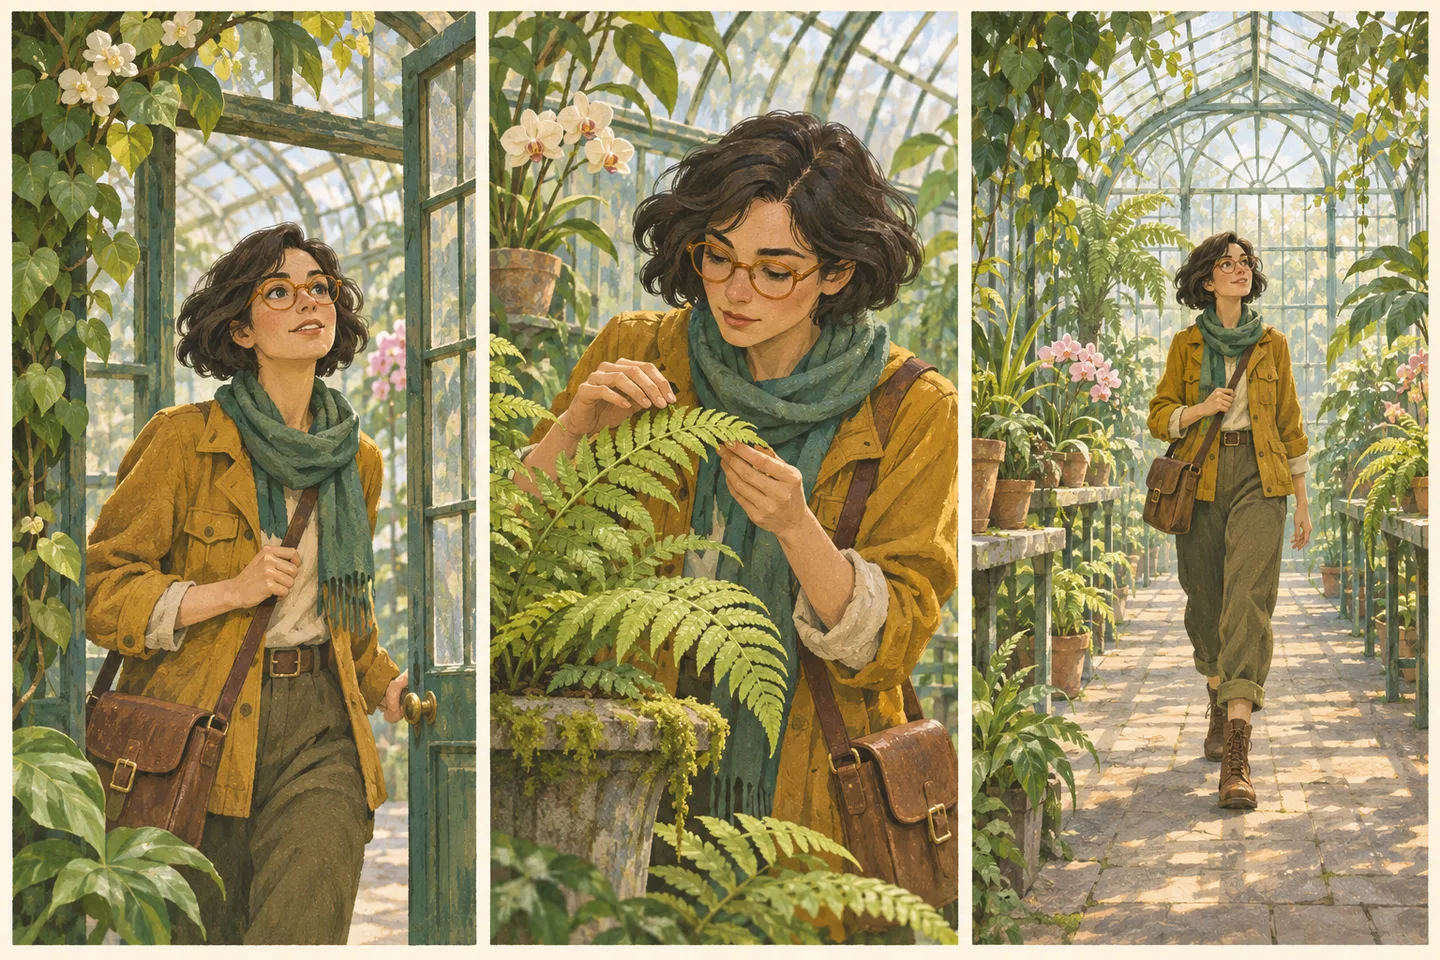 AI-generated storyboard concept. The panels illustrate a proposed sequence, not measured output consistency.
Reuse the identity block and replace the scene block
For the first image, try:
Use the uploaded character reference for the explorer's appearance. Preserve the short dark bob, round amber glasses, mustard jacket, teal scarf, and brown satchel. Show the explorer entering a leafy greenhouse, framed from the waist up near the doorway. Keep the face visible. Use soft daylight, a sage-and-ochre palette, and textured gouache illustration. Keep the background quieter than the character.
For the second image, keep the identity and style instructions, then replace only the scene description:
Show the explorer studying a fern beside a greenhouse bench, framed from the waist up. Keep the glasses, face, and scarf clearly visible. Use a simple, relaxed hand pose.
For the third, ask for a full-body view along the aisle. Reuse the approved reference instead of relying on the previous prompt alone to carry identity between separate generations.
When revising an individual scene, keep the original reference available. Repeatedly using only the latest generated image can carry small design deviations into later work.
Review continuity by category
Lay out the reference and scene images together. Check recognizable features before deciding which composition is most attractive.
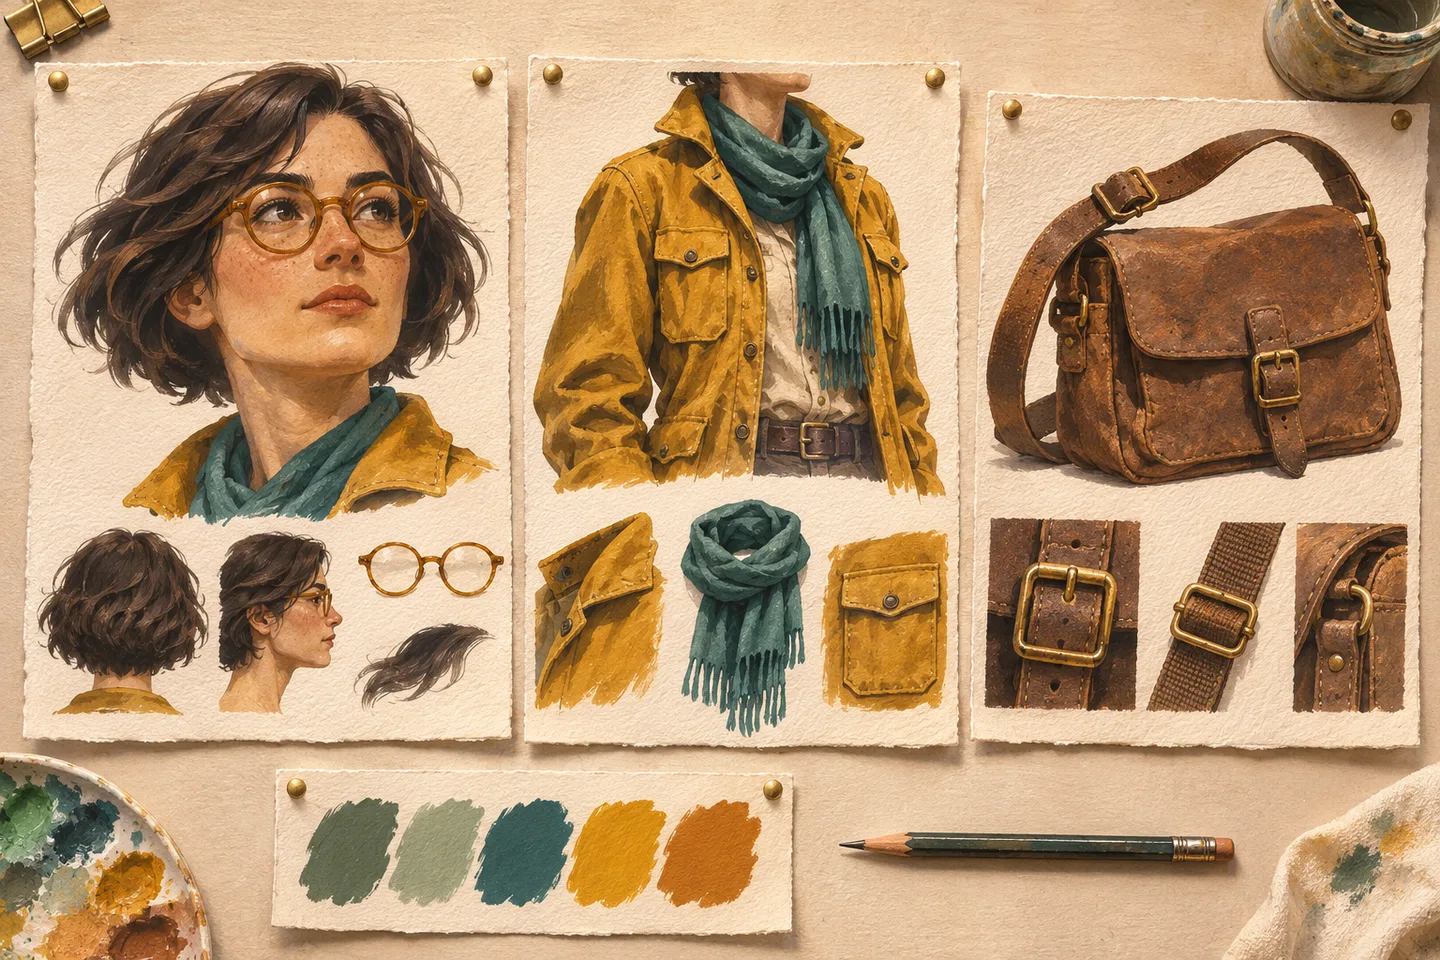 AI-generated illustration of separate continuity checks for identity, clothing, and accessories.
Check the face and hair first, then the outfit, then accessories, and finally the rendering style. A character can share the same colors while still having a different face. Conversely, different poses do not necessarily mean the identity has changed.
Use a simple acceptance rule: every defining feature visible in a scene should agree with the anchor reference. A feature hidden by the pose cannot be evaluated in that image; if it is important to the story, choose a clearer view.
If the glasses change, request a focused correction: “Match the round amber glasses in the reference; keep the approved pose and background.” If the whole face drifts, simplify the angle or return to a clearer face reference before adding more scene detail.
Save a reusable character pack
Keep the approved anchor image, identity description, style notes, accepted scenes, and rejected-detail notes in one folder. Name files by scene so you can compare versions without guessing.
Begin with three usable images, then expand the series. This keeps the review manageable and gives you a stable visual brief for later stories. Open Kling Image with one clear reference and a short list of features your audience should recognize in every scene.
For a reusable way to structure and revise your instructions, see the Kling Image prompt guide.