

Kling Image Prompt Guide: Write, Review, and Refine
A useful Kling Image prompt describes a picture you can evaluate: what is in it, where it sits, how it is framed, and what the light should do. Start with one scene and a few visible requirements. After generating, change the instruction responsible for the biggest mismatch.
You can begin in the Kling Image generator with text or a reference image. This guide uses an unbranded green ceramic mug to show how to turn a vague idea into an image brief, then revise it without losing the direction you already like.
Decide what the image must accomplish
Before writing, choose the destination. A catalog image needs a clear product silhouette. A website banner needs room for copy. An editorial illustration may need atmosphere and a setting that tells a story.
Write one sentence describing success: “The whole mug is visible on the left, with quiet space on the right for a headline.” That gives you something more useful to check than whether the image looks impressive.
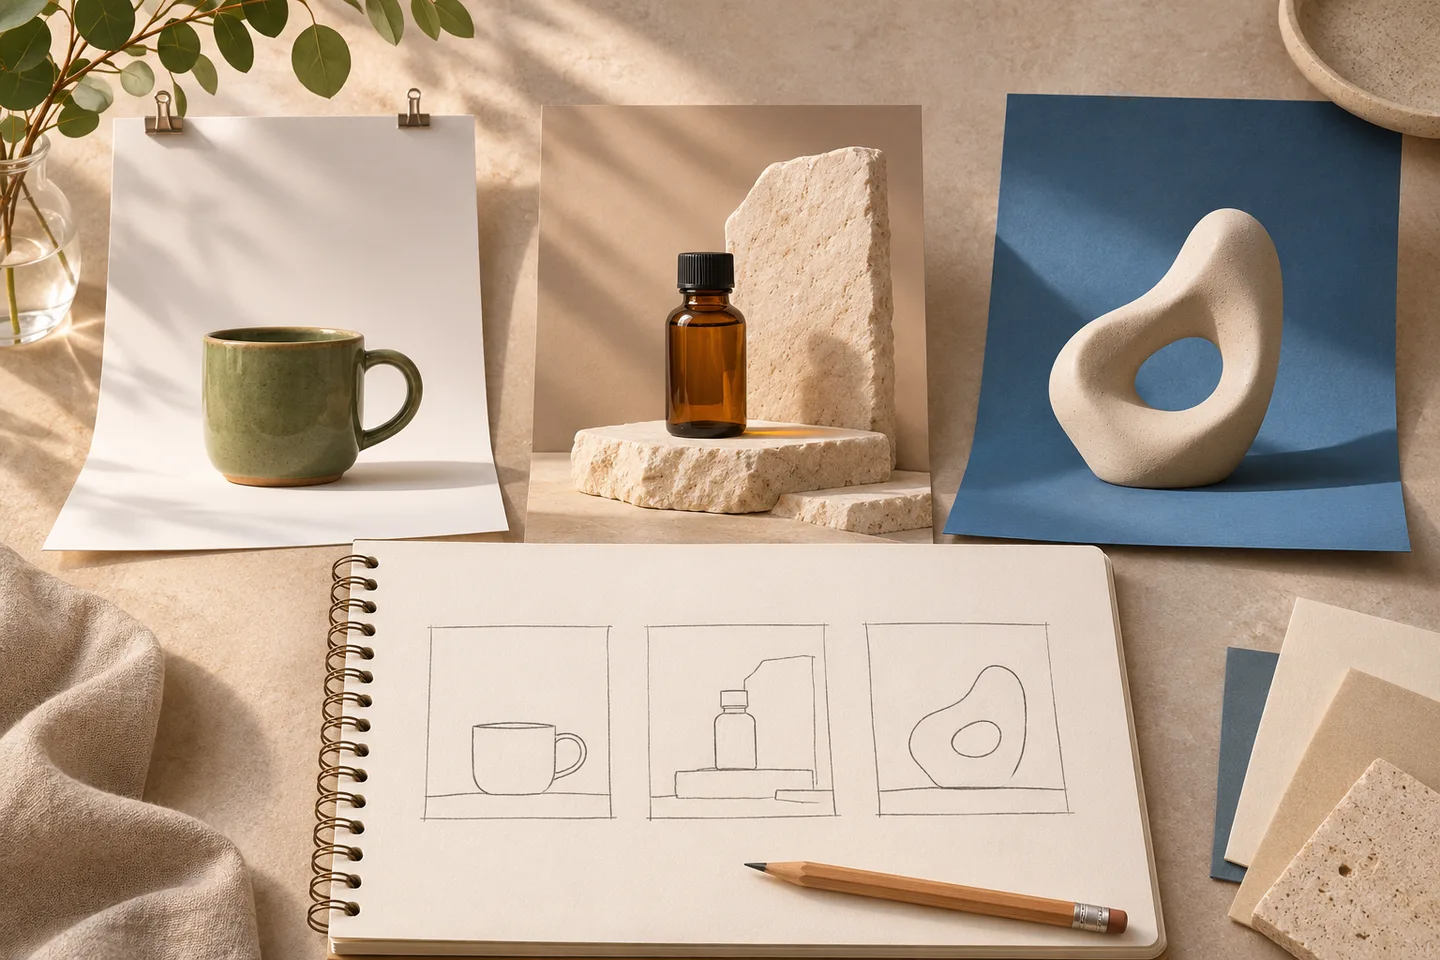 AI-generated editorial illustration of planning a visual direction; not a Kling Image test output.
Do not ask one image to serve every placement. Decide the intended format before generating. Use the output options offered by your selected model and check the displayed credit cost before submitting.
Build the prompt from visible decisions
The Kling image-generation guide describes a workflow built around a subject, scene, lighting, color, style, and optional references. Turn those categories into concrete instructions:
| Part | Question to answer | Example |
|---|---|---|
| Subject | What should the viewer notice first? | One forest-green ceramic mug |
| Setting | Where is it? | On a warm ivory tabletop |
| Composition | Where does it sit in the frame? | Left third, whole handle visible |
| Lighting | Where does light come from? | Soft daylight from the left |
| Material and style | What should its surface feel like? | Glazed ceramic, natural product photography |
| Constraint | What would make the image unusable? | No extra cups; leave the right side empty |
A starting prompt:
Create a product photograph of one forest-green ceramic mug on a warm ivory tabletop. Place the mug in the left third of a wide composition, with the entire handle visible. Use soft daylight from the left and a gentle shadow beneath the mug. Show the texture of glazed ceramic. Keep the right half calm and empty for a headline. No additional cups or decorative lettering.
Replace the subject and setting with your own. Keep only constraints that matter to the deliverable. A long list of unrelated exclusions can obscure the brief.
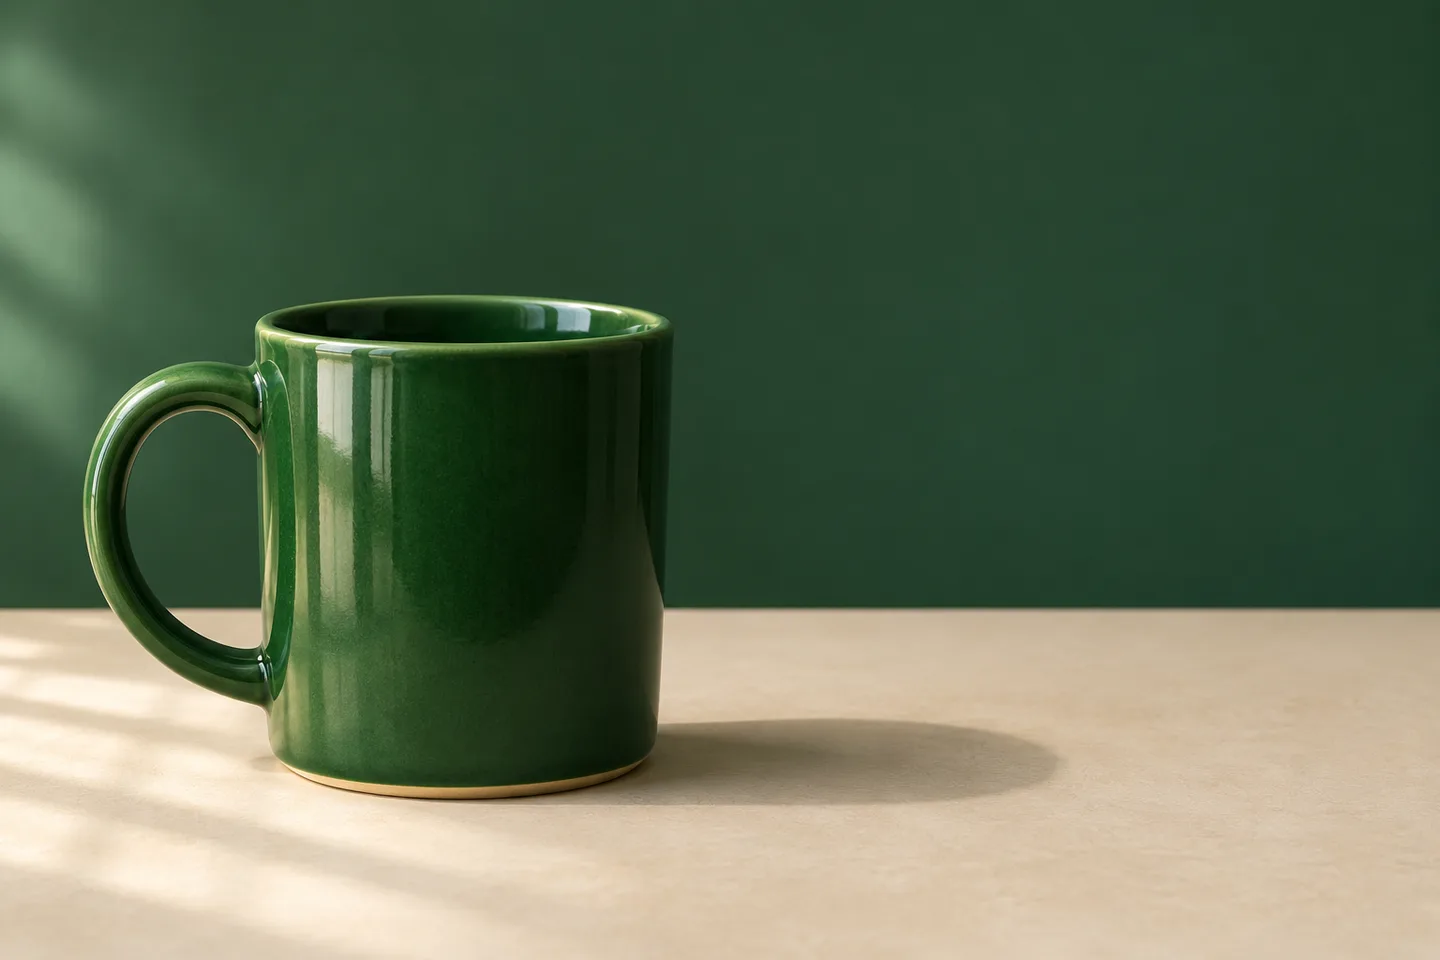 AI-generated composition illustration; it demonstrates the brief rather than a measured model result.
Choose text or a reference based on what must stay recognizable
Use text when you are exploring an invented object, a mood, or a visual concept. Add a reference when a particular product, person, or existing composition matters. A description such as “green mug” leaves its proportions open; a clear photograph gives you a concrete shape to compare against.
For a reference-guided version, write:
Use the uploaded mug as the subject. Preserve its silhouette, handle shape, rim, and glaze color. Place it on a warm ivory tabletop with soft left-side daylight. Keep the whole mug visible and leave empty space on the right. Change the setting while keeping the product recognizable.
Treat preservation instructions as goals to verify. Inspect the result beside the source image before using it. Follow the upload limits displayed for the selected model rather than assuming every mode accepts the same number of references.
Revise the cause of the problem
Keep a copy of your first prompt and selected output. If the composition works but the background is busy, revise the background instruction. Rewriting the subject, style, and lighting at the same time makes it harder to tell what improved the image.
| What you see | Focused next instruction |
|---|---|
| The mug is too small | “Make the mug the dominant subject while keeping its full outline visible.” |
| There is no room for copy | “Place the mug farther left and keep the right half free of objects.” |
| The scene looks harsh | “Use a broad, soft light source and gentle shadows.” |
| Props distract from the subject | “Remove the surrounding props; keep only the mug and tabletop.” |
| A reference detail has drifted | “Match the handle and rim to the source photograph; keep the approved setting.” |
If an edit introduces new problems, return to the last usable image. Do not keep building on a result that has already lost the required shape or identity.
Inspect the image at two sizes
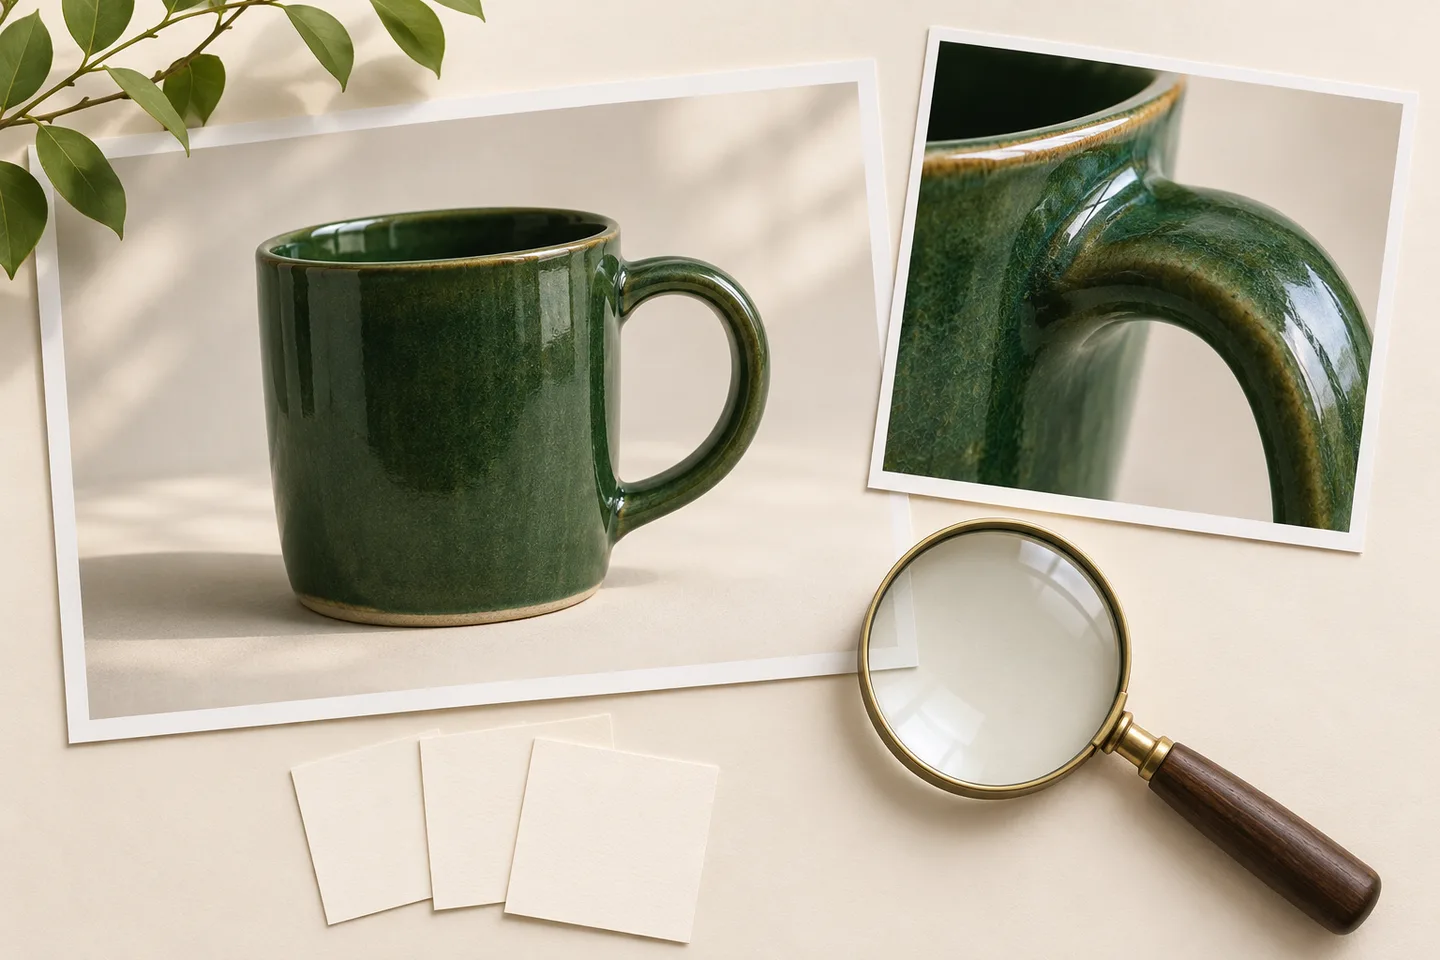 AI-generated illustration of composition and detail review; not a before-and-after test.
First view the image at its intended display size. Is the subject obvious? Does the space for text remain usable? Then inspect the full-resolution file for broken edges, implausible reflections, misspelled lettering, and inconsistent details.
For this mug brief, the image passes only when the handle is complete, the product looks grounded, and the right side can hold the planned headline. These checks are an editorial acceptance rule, not a model benchmark.
Save the approved prompt, source reference, and chosen file together. For your next image, reuse the parts that define the campaign and change only the scene-specific instructions. Open Kling Image and start with one brief you can judge clearly.
Apply the workflow to your next project
For a specific product, follow the product background editing guide. For a multi-scene illustration, use the consistent character workflow.